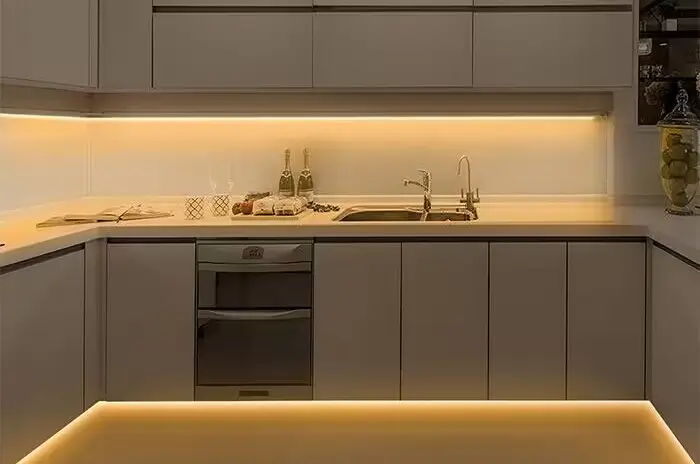
LED strips are increasingly popular with lighting designers, whether you want to add ambient lighting to your kitchen or commercial space, or your office needs to add task lighting, LED strips allow you to transform your space in style, and provide cost-effective lighting solutions. But many people want to know how to install it, just follow this guide to learn how to install the LED strip light by yourself as shown below.
Table of Contents
1.Choosing the right place to hang LED strip
2.Check the LED Strip and Voltage
3.LED Strip Connector and Wire
4.How to Connect the Power Supply
Choosing the right place to hang LED strip

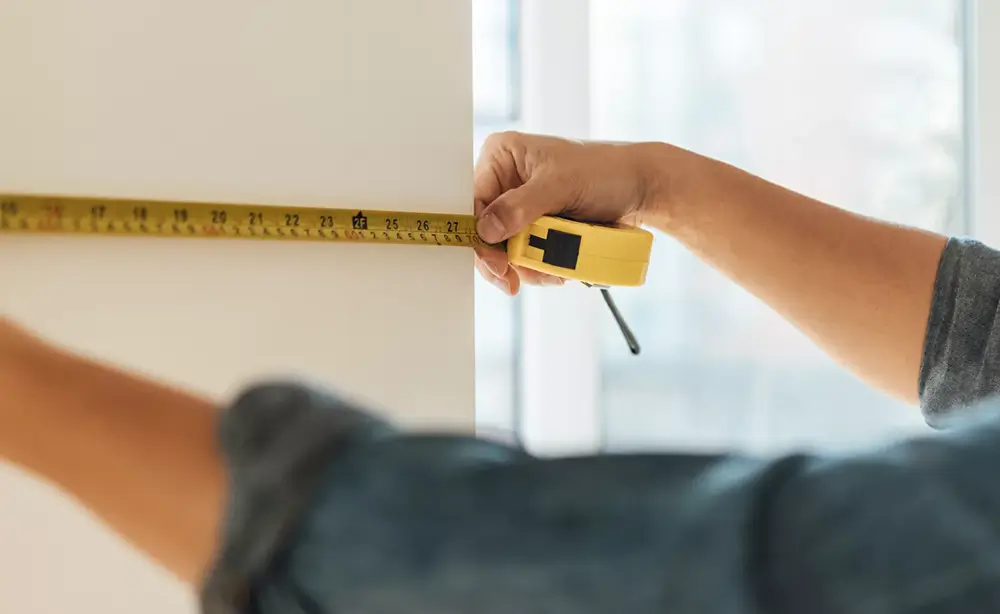
Before we buy and install the LED strip, we have to plan or draw a sketch of the entire installation, and also need to install the LED strip area, and we have to prepare related installation accessories and tools, such as power supplies, controllers, alum profiles, scissors, connectors, power cords, power switches, and more.
Check the LED Strip and Voltage

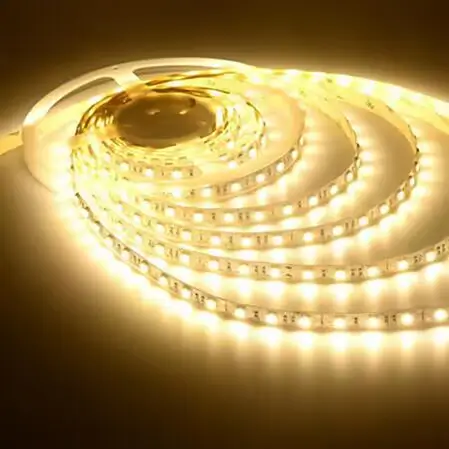
When you buy a led strip, be sure to carefully check these led strip’s label. Note that these strips are generally 12V and 24V.
LED Strip Connector and Wire
You have to choose the right solderless LED connector according to the width and type of the light bar, or you can cut and solder it yourself, of course if you use a quick connector, it will make the installation process easy, simple and smooth.
How to Connect the Power Supply
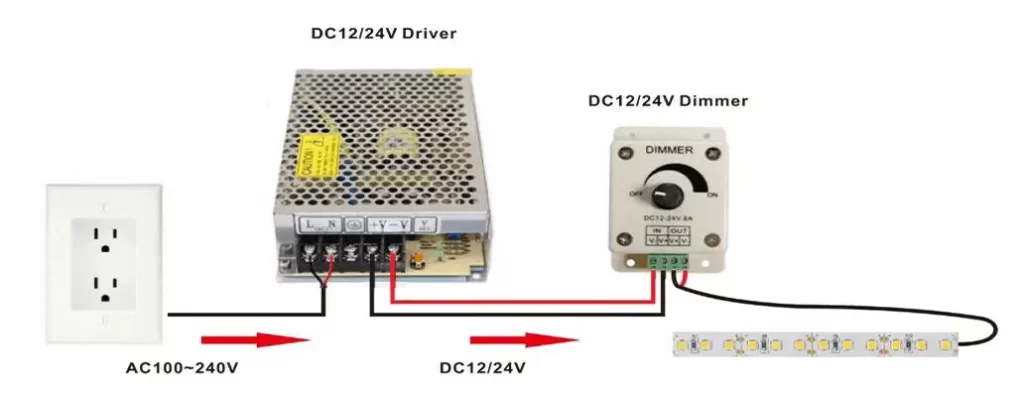
Most LED strip lights are sold on 5m reels with basic wiring, if you want install mains-powered LED strips, you should prepare the reel of LED tape, the power supply, and LED connector wire. Alternatively. Then, pls kindly check the below picture for easy installation.

Here at Essenled, we have a whole selection of LED strip lights to choose from. Take a look at our Single Color LED Strip, Tunable White, and RGBX LED Strip, Neon LED Strip so on.
