LED strips are a versatile lighting option because they fit in with any space. One of the great appeals of LED strip lights is that they can be in sync with music, creating a dynamic, immersive atmosphere. This article will walk you through a few simple steps on how to sync LED strip Lights to music so that the lights follow the beat. Make sure you have all the necessary tools and equipment ready before you begin.
Step 1: Gather the necessary equipment
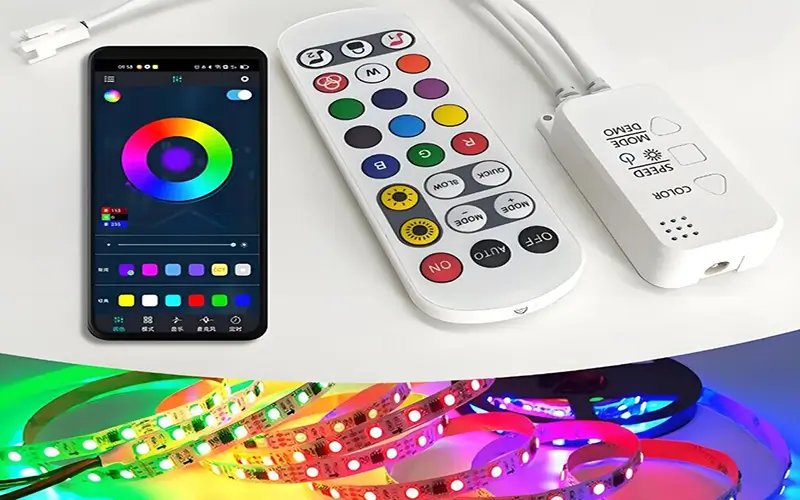
Before you start the installation, first make sure you have all the necessary materials. You can choose any LED light strip you want, but it must have a compatible Bluetooth/Wi-Fi controller and a built-in microphone or a mobile app with music-syncing capabilities. Your light strip controller or smart app will indicate whether it has a music sync option.
Of course, you can choose a variety of LED light strips based on your needs. For example, single-color, RGB, RGBW, tunable white, and individually addressable light strips. Depending on where you are installing indoors or outdoors, choose a light strip, controller, and power supply with an IP rating of IP65 or higher. If outdoor, pls read How to Use LED Neon Flex Strip Outdoor?
Required materials
LED strip
LED controller
Power supply
LED profile
Connector
Screwdriver
Step 2: Prepare to Install the LED Strip
Before you start installing the strip, you must plan and decide where you want the LED strip and LED power supply to be installed. Measure the required length of the LED strip and the length of the wires.
Installation Notes:
- Confirm that the voltage and wattage of the LED strip match that of the LED power supply.
- If your strip is long, you need to make sure that the maximum run length is not exceeded.
- If there is voltage, you may need to choose a different power supply and add additional power.
Clean the mounting surface
- Before installing, make sure the mounting area is clean and flat. Dust or grease may affect the adhesion and cause the strip to fall off.
- Use a clean cloth or alcohol to wipe the surface to ensure that the strip can adhere firmly.
Measure and cut the LED strip
- Measure the length of the strip carefully. And cut at the nearest designated cutting mark to avoid damaging the circuit.
- If the LED strip is cut waterproof, use silicone end caps and sealant to cover any exposed ends. Test your strip to make sure everything is working properly.
Step 3: Connect the LED Strip to the Controller
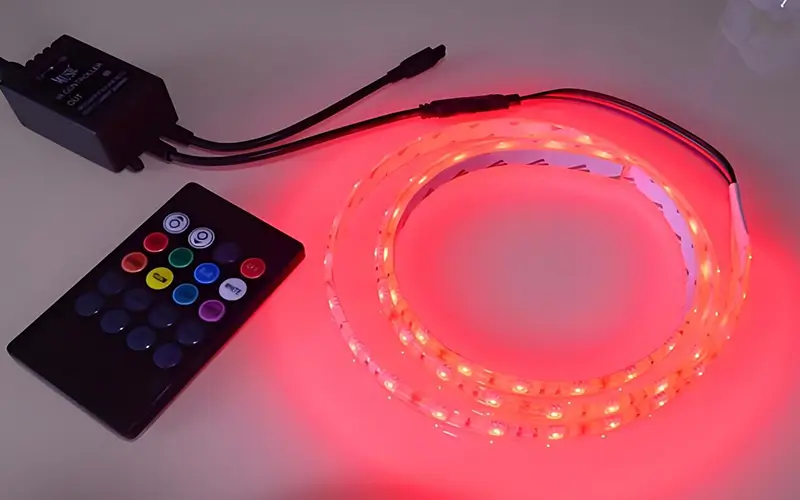
Next, it is a critical step to connect the LED strip to the LED controller. Because the controller is the bridge to synchronize the strip with the music.
- Find the connector of the strip: match the color-coded wires on the LED strip with the corresponding ports on the controller.
- Match the positive and negative poles: Make sure the positive and negative poles of the strip and the controller match.
- Use connectors: During the connection process, you can use a dedicated connector to splice multiple sections of the strip. Make sure each connection point is firm to avoid looseness or unstable current.
- Choose the right controller: Choose an LED controller with Bluetooth or WiFi function, allowing the light to be controlled through a mobile phone APP. Make sure the controller supports the music synchronization function. Some controllers have built-in microphones that can automatically adjust the light rhythm according to external music.
Step 4: Install the LED Strip!
Once the lighting system is connected, you can install the strip in the desired location. Before you start installing the LED strip, make sure the surface is clean and dry. More information, pls read How to Clean and Care for the LED Strip Lights?
- Fix the strip: Most LED strips come with adhesive backing, just peel off the adhesive backing and stick it directly to the surface.
- Use aluminum troughs: It is best to install it with LED profiles. LED profiles can help the LED light strip dissipate heat. Alternatively, you can install the strip in an aluminum trough and then fix the aluminum trough to the wall or furniture. This not only makes the strip neater but also helps dissipate heat and prolong the life of the strip.
- Hide the power cord: During the installation, try to hide the power cord as much as possible, so that you can ensure the overall appearance. If you use aluminum troughs, this will also organize the wires to ensure that they are inconspicuous and safe.
Step 5: Test and Adjust
Once you have completed the installation, you need to test the working of the light strip. Turn on the LED light strip and play some music to test the synchronization.
Test the connection
Turn on the power and check if the LED light strip works smoothly. Use the controller to check the different modes of the light strip, especially the music synchronization mode. If the light strip does not respond to the music, check the audio input or microphone settings of the controller.
Adjust the lighting effect
Adjust the color and brightness of the light according to the atmosphere of the room. Some controllers allow you to fine-tune the lights through the mobile phone app or remote control to ensure that the light strip is synchronized with the music.
Step 6: Music Sync Settings
For the LED strip lights and music sync effect, you can choose a variety of ways to achieve it:
Use a built-in microphone
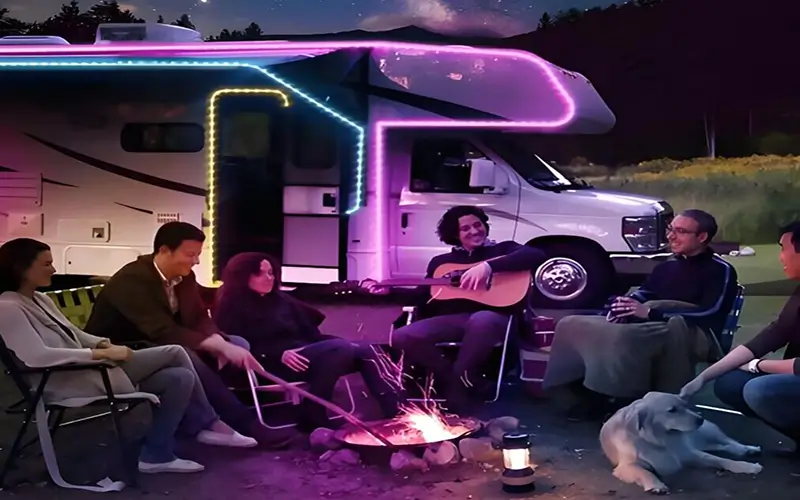
Modern LED controllers are usually equipped with a built-in microphone, which can detect the surrounding sound and automatically adjust the lighting effect according to the captured music rhythm. This feature is very suitable for scenes such as parties or concerts, so that the lights and music are naturally synchronized.
Connect via Bluetooth or WiFi
Some high-end LED controllers support Bluetooth or WiFi functions, which can wirelessly transmit music from mobile phones, tablets or computers to the controller. This can send audio data directly to the controller, ensuring that the light response is more accurate and will not be disturbed by ambient noise, thereby improving the overall lighting performance.
With the help of smart apps
Most smart controllers have dedicated apps, and users can easily set different music sync modes for LED strip lights through these applications. The app also provides rich customization options. You can adjust the color changes of the lights, scene effects, and the sensitivity of the music response to create a personalized lighting experience. For more information on how to connect the RGB light strip to the APP, please see How to Connect RGB LED Strip Lights to the App?
Summary
It is a great idea to synchronize LED light strips with music, especially for entertainment or party occasions. With the above steps, you can easily achieve this effect. From choosing the appropriate equipment, and installation, to music synchronization settings, every step is crucial. If you want to buy the highest quality LED light strips on the market, you can consider choosing us, we are the highest quality and high service LED light strip supplier.
FAQs
To sync LED lights to music, you usually need a music-reactive LED controller that has a built-in microphone or can be connected to an audio source. Then there are smartphone apps: many LED systems offer apps where you can select a music sync mode or directly upload songs for more customized control.
Yes, many smart LED systems with Bluetooth or WiFi connectivity allow integration with music streaming services such as Spotify. You need to choose some LED controllers and apps that have the function of syncing the lights directly to the music playing on Spotify by analyzing the audio signal in real time.