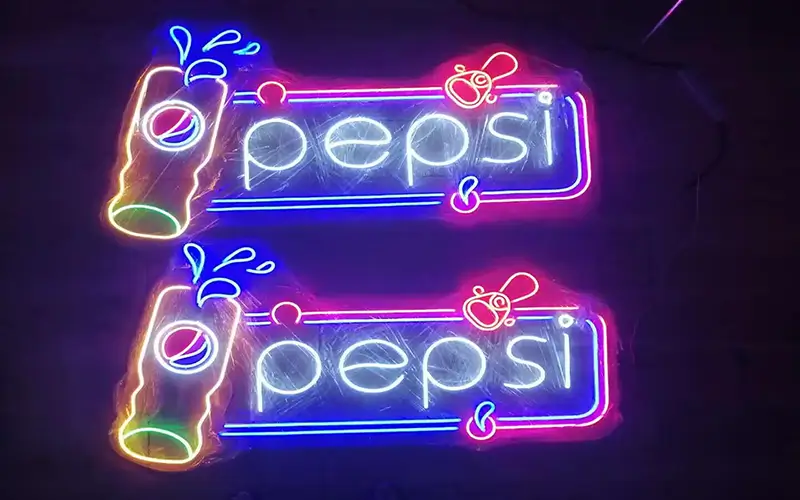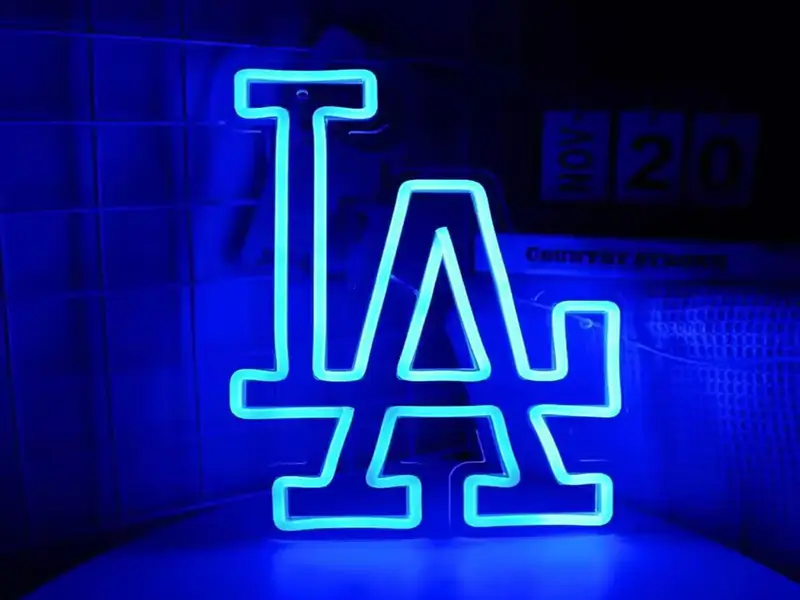
DIY your own neon LED sign is a fun and rewarding project that can add a personalized touch to your home, office, or event. Especially for small spaces or your home, they catch the eye with their colorful illuminated designs and stand out both during the day and the night.
This guide will walk you through the process step-by-step, and ensuring you have all the information you need to successfully make a custom neon LED sign.
What is an LED Neon Sign?
LED neon signs are modern alternatives to traditional glass neon signs. They use LED strip encased in a silicone or PVC tube, mimicking the look of classic neon lights.
The traditional glass neon signs are expensive and easy to break. So LED neon flex solves these problems, which is e energy-efficient, durable, and safe to use, making them perfect for DIY LED neon sign projects.
What Do You Need to Make an LED Neon Sign?
Before you start, gather the following materials and tools:
Materials:
Pencil and Paper: For sketching your design.
Ruler: For making precise measurements.
LED Neon Flex Strip: Available in a range of colors and lengths.
Backing Material: Acrylic, wood, or metal for mounting your sign.
Power Supply: Make sure it matches the voltage requirements of your LED strip.
Adhesive: Clear epoxy or strong glue.
Wire Connectors: For connecting sections of the LED strip.
Screws and Anchors: To mount the sign if necessary.
Tools:
Scissors or Utility Knife: For cutting the LED strip and backing material.
Soldering Kit: For connecting wires.
Heat Shrink Tubing: For insulating connections.
How to DIY Your LED Neon Sign?
Design your LED neon sign
First decide on the design of your LED neon sign, its purpose, and where it will be installed. It can be a simple word, a shape, or a complex logo.
Plan the layout
Place your designed LED neon sign on the backing material. And lightly trace the outline with a pencil. Be sure to measure and mark where you need to cut and bend the LED strip.

Consider the power supply
Plan ahead of time where the power supply will be and the voltage of the power supply, which should be accessible to a nearby outlet. For aesthetic reasons, you also need to consider hiding it to maintain a clean look.
Cut the LED strip
Carefully cut the LED strip at the designated cutting points. These are usually marked with a small line or scissor symbol. Cut straight down, and cutting at an angle ensures that you don’t damage the circuit.
Shape the LED strip
Gently bend the LED strip to follow the lines of your design. LED neon flexible strips are flexible, but be careful not to twist or kink them. Use adhesive to secure the strip to the backing material.
Connect the wires
First, connect the cut sections of the LED strip using wire connectors. Then, solder the connections to ensure a strong and reliable bond. Finally, cover the soldered connections with heat shrink tubing for insulation and protection.
Securing the power supply
Connect a power supply of the same voltage to the backing material. Connect the LED strip to the power supply according to the manufacturer’s instructions. Double-check all connections to make sure they are secure and insulated.
Testing the LED neon sign
Plug in the power supply and test your LED neon sign to make sure all parts light up correctly. If parts do not light up, you need to disconnect the power supply and recheck the connections and the position of the solder pads.
Final adjustments
Finally, we will secure the LED neon sign. Make sure the LED neon sign is firmly fixed to the backing material.
Power On
Once the sign is mounted, plug it in and enjoy a DIY custom LED neon sign.
Tips for a Successful DIY LED Neon Sign
Keep waterproof
First, you need to see if you are using it indoors or outdoors. After cutting, pay attention to waterproofing to keep the LED neon tube waterproof.
Pay attention to heat dissipation
Work in a well-ventilated area, and also place the LED sign and power supply in a ventilated and heat-dissipating place to extend its life.
Disconnect the power supply
Before cutting and checking the connection, always disconnect the power supply to prevent safety issues. Take the time to ensure that each step is completed correctly for the best results.
Conclusion
DIYing your own LED neon sign is a rewarding project that allows you to create a personalized, eye-catching decor. By following this guide, you can successfully design, build, and display a custom neon LED sign that will impress everyone who sees it.
We are an LED neon flex supplier, there are novel 360-degree neon flex and IP68 neon flex especially for swimming pools for you to choose from.
FAQs
It’s actually very simple. You need to conceive your drawing first. Do you want to design a word, sentence or logo? Then use a pencil and ruler to sketch your design on paper to ensure precision. Make sure the design is simple and clean, because complex shapes may make it difficult to bend LED light strips.
LED neon flex strips have designated cutting points that can be cut, or marked with a small line or scissors symbol. Use sharp scissors or a utility knife to make clean cuts at these points to avoid damaging internal components.
After cutting the LED neon flex strips to the required length, you need to solder them together yourself and insulate them with heat shrink tubing to protect their waterproofness.
With RGB or RGBWLED neon flex strips, you can pair them with a compatible LED controller. Let you change the color as you like. But make sure your design includes the wiring and controller required for RGB light strips.
