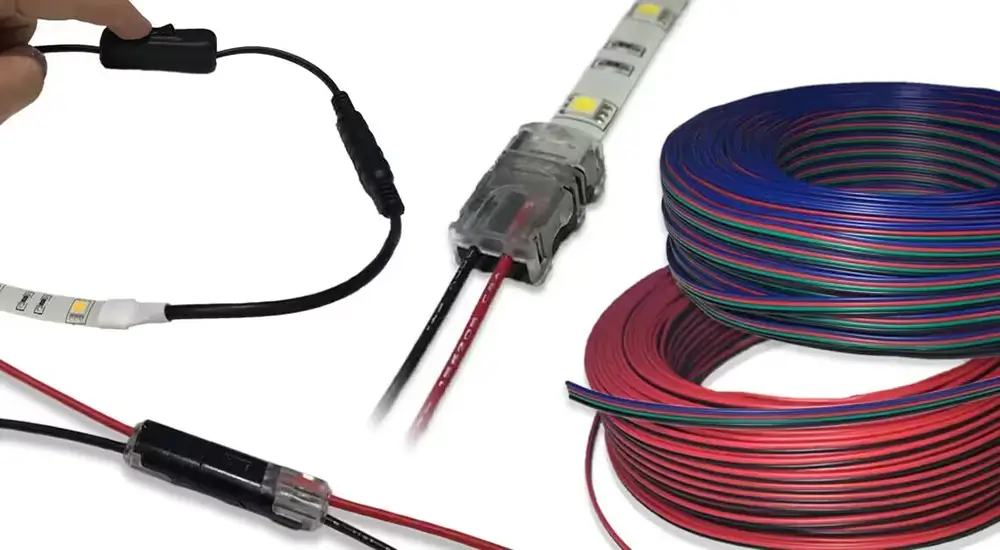
One of the many advantages of LED strip lights is that they can be cut and customized to length. Most 12V and 24V LED strips support cutting, but their cutting positions are different. After cutting, you can choose to solder the LED strip lights or use LED light strip connectors. Next, let’s analyze how to connect the LED strip lights without welding after cutting, and how to use LED connectors to connect the cut LED strip lights.
How to Choose LED Connector?
First of all, you need to confirm what type of LED light strip you are using and the width of the light strip, because different types of light strips require different LED connectors. For example, single color, double color, etc. Then make sure the connection type is appropriate for your installation.
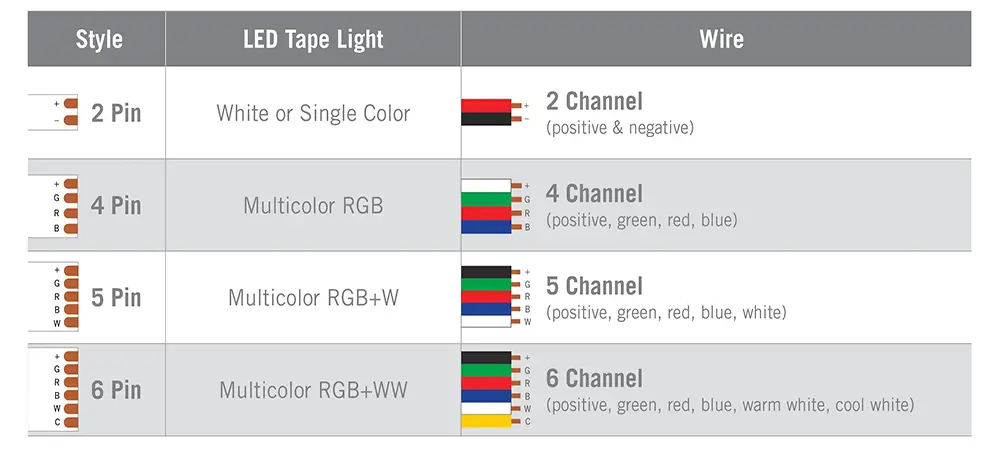
There are many styles of LED connectors, including waterproof LED light strip connectors and non-waterproof LED light strip connectors. There are also options for various types of connections (strap-to-wire, strap-to-strap, and wire-to-wire). Understanding the types of wires required for LED light strips will help determine the style of connectors required. Let’s break down the different styles of LED strip connectors.

Different Styles of LED Strip Lights Connector
Now that you have an overview of the different wire requirements for LED strip connectors, the next step is to determine what type of connection your project requires.

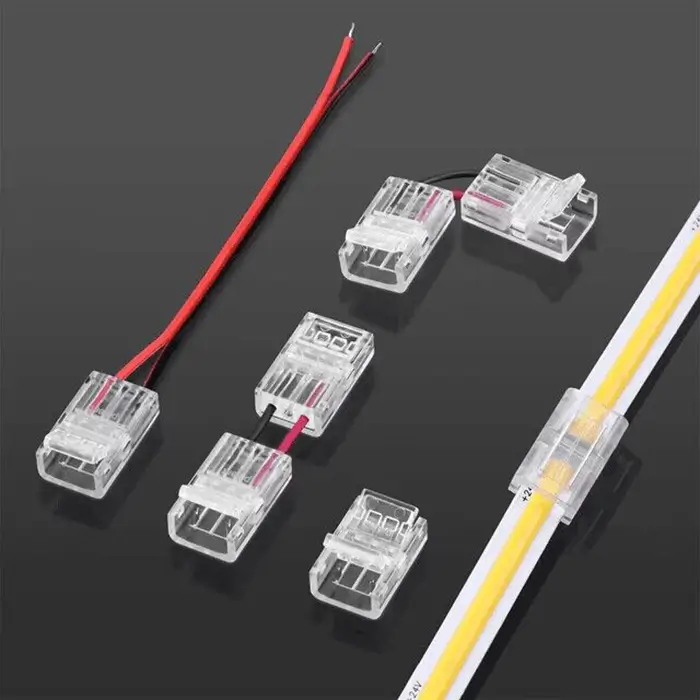
LED Strip Lights + LED Connector with Wire
After you cut the LED strip, you don’t need to solder the LED strip again. You can choose to connect to the LED connector with wires, which is simple and easy to operate. This end of the wire can be directly connected to the LED power supply for lighting tasks, eliminating the trouble of welding.
LED Strip + LED Strip Connectors
LED strip lights needs to be connected to another LED light strip with an LED connector in the middle. It allows you to simply reconnect two cut strips without using any wires in between. which allows you to simply reconnect two cut strip strips without using any wires in between.
How to Cut LED Strips Correctly?
Users must first confirm the size of the customized LED light strip and then customize the length you want based on the size. The cutting dimensions of 12V and 24V LED strips are different. The important task now is to learn how to cut the LED tape correctly.
The LED light strips will show where they were cut, and some have copper pads, metal solder joints and shear marks. Cutting anywhere else on the tape risks damaging the circuitry in the tape. When using the connector, use scissors to cut the LED tape directly in the center of the copper pad.
How Does the LED light strips connect the Connector Correctly?
After the user has correctly cut the light strip, connect the selected LED connectors. The final step is to check that the polarity remains consistent when reconnecting the LED strips together.
Check the (+/-) polarity markings printed on the LED strips to ensure that the polarity of white, monochrome, and RGB LEDs is maintained throughout the installation. For RGB+W (5P) and RGB+WW (6P) installations, the lights should be consistent between strips, making sure the polarity of each part of the tape matches.
Summarize
After cutting the LED strip lights, you can choose welding or LED connectors according to your project. The LED connector is a convenient connection for LED strip lights, and it is also a simple and easy operation process. The premise is that you need to choose the appropriate LED connector for the LED strip project so that you can get twice the result with half the effort and achieve a perfect lighting connection effect.
FAQs
LED strip connectors are quick connectors, accessories that connect various parts of an LED strip together. According to your needs, you can choose the connector with wires connected to the light bar, or the connector with LED light bar connected to the LED light bar. This enables solderless and convenient connections.
After cutting the LED strip, if you don’t know how to solder. Connections can be made using various types of connectors such as snap-on connectors, quick connectors or adhesive connectors. This way, the LED strip does not require soldering, providing a safe and easy connection.
There are many types of LED light strip connector options. Including solderless connectors, corner connectors, T-connectors, L-connectors and extension cables, each type is designed for specific connection requirements.
RGB LED strip connectors typically have four or more pins to accommodate the additional channels needed for color mixing. And single-color LED strip connectors have fewer pins for simpler connections.
To connect the LED strip connector, users need to check the polarity first. Simply align the connector pins with the corresponding contacts on the LED strip and press them together until they click into place. Make sure the polarity is correct to avoid damaging the lamp.
